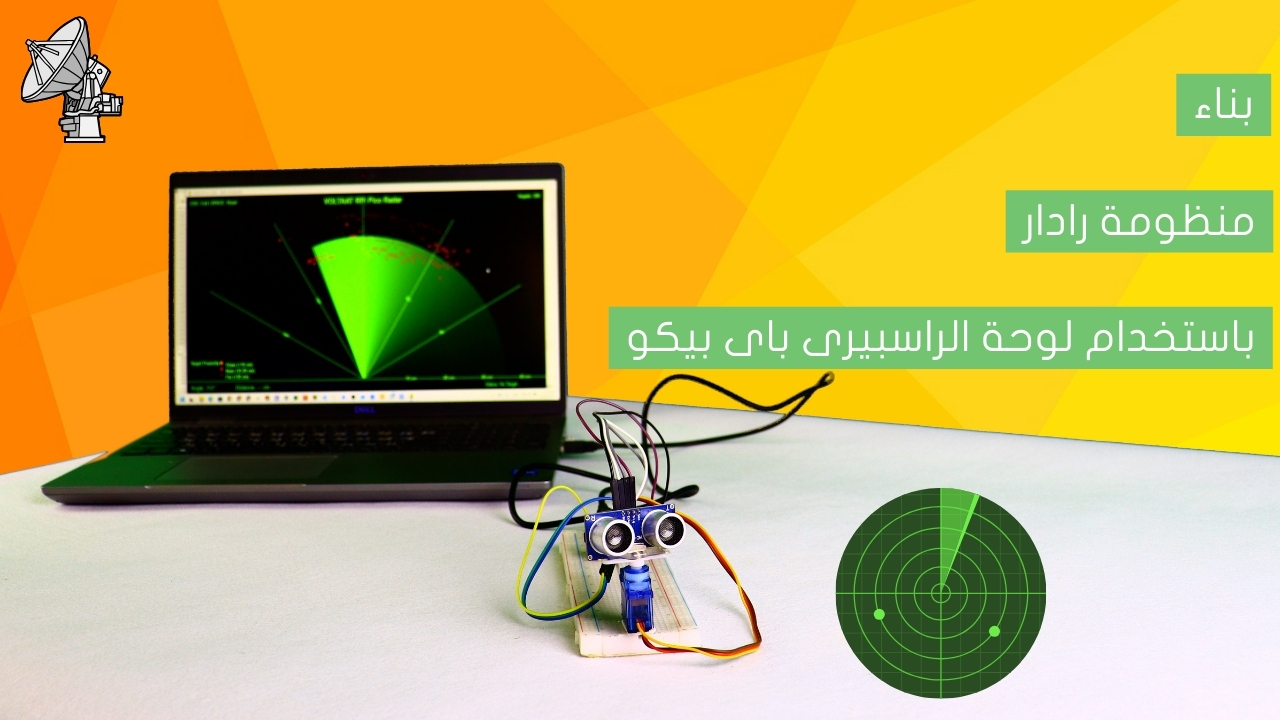
Thank you! Your submission has been received!
Oops! Something went wrong while submitting the form.
Arduino
80 min
Share

Control stepper motor with Arduino

There are many different kinds of motors, each of which has a variety of uses. One type is the stepper motor, which got its name because it moves in precise steps and allows you to control the movement speed and direction with high precision. This type of motor is used in many devices that you may use in your daily life, such as 3D scanners, 3D printers, and even robots.

Project Video

Overview

In this tutorial we will use the Arduino and motor driver to control the stepper motor. We will make it move with a specific direction and acceleration.

Getting the Items

Arduino Uno R3 (Voltaat Version)
Get Item
5V DC Stepper Motor & Drive Module
Get Item
Jumper Wires – Male to Female (40 Pack)
Get Item

Steps

Wiring it Up

Connect the wires between the stepper motor and the Arduino, as shown in the image below.


 Connections from the motor driver to the Arduino:


      • Motor driver GND pin (- pin) → Arduino GND pin


     • Motor driver VCC pin (+ pin) → Arduino 5V pin


       • Motor driver IN1 pin → Arduino pin 11


       • Motor driver IN2 pin → Arduino pin 10


      • Motor driver IN3 pin → Arduino pin 9


       • Motor driver IN4 pin → Arduino pin 8

Coding


/*
 Voltaat learn (http://learn.voltaat.com)
 Link for full tutorial:
 Stepper library:
 AccelStepper library:

 Tutorial: Control stepper motor with Arduino

 This sketch function is to control the stepper motor
 to move in one direction at a speed of 1000 steps per second
 and an acceleration of 200 steps per second square for 9 revolutions,
 then reverse its direction and repeat the movement

 Connections from the motor driver to the Arduino:
 • Motor driver GND pin (- pin) → Arduino GND pin
 • Motor driver VCC pin (+ pin) → Arduino 5V pin
 • Motor driver IN1 pin → Arduino pin 11
 • Motor driver IN2 pin → Arduino pin 10
 • Motor driver IN3 pin → Arduino pin 9
 • Motor driver IN4 pin → Arduino pin 8

*/

//Include the Arduino Stepper.h library
#include "Stepper.h"
//Include the AccelStepper library
#include "AccelStepper.h"

//Define the motor pins
//IN1 on the motor driver
#define MP1  11
//IN2 on the motor driver
#define MP2  10
//IN3 on the motor driver
#define MP3  9
//IN4 on the motor driver
#define MP4  8

//Define the interface type
#define MotorInterfaceType 8
//Define the pin sequence (IN1-IN3-IN2-IN4)
AccelStepper stepper = AccelStepper(MotorInterfaceType, MP1, MP3, MP2, MP4);
const int SPR = 2048;//Steps per revolution

//Commands inside void setup run once
void setup() {
 //Set the maximum motor speed in steps per second
 stepper.setMaxSpeed(1000);
 //Set the maximum acceleration in steps per second^2
 stepper.setAcceleration(200);
}

//Commands inside void loop run forever
void loop() {
 //Set the target motor position (9 full revolutions)
 stepper.moveTo(9 * SPR);
 //Run the motor to the target position
 stepper.runToPosition();
 //delay for 1 sec
 delay(1000);
 //Set the target motor position (9 full revolutions but in opposite direction)
 stepper.moveTo(-9 * SPR);
 // Run the motor to the target position
 stepper.runToPosition();
 //delay for 1 sec
 delay(1000);
}

Testing it Out

After uploading the code to your Arduino board, you will observe the stepper motor rotating slowly and making nine revolutions before changing direction and repeating the action. The driver LEDs will also flash in response to the signals transmitted from the driver to the motor.

You can change the number of revolutions, acceleration and speed in the code with the specific value that you need.

Resources

No items found.