Resource Name

The Raspberry Pi 5 board has GPIO ports that enable it to interact with the outside world. You can connect motors, screens, sensors, or LEDs to these ports.
In this tutorial, we will connect an LED to the GPIO ports on the Raspberry Pi 5 board, and we will make the Raspberry Pi turn the LED on and off for 1 second.

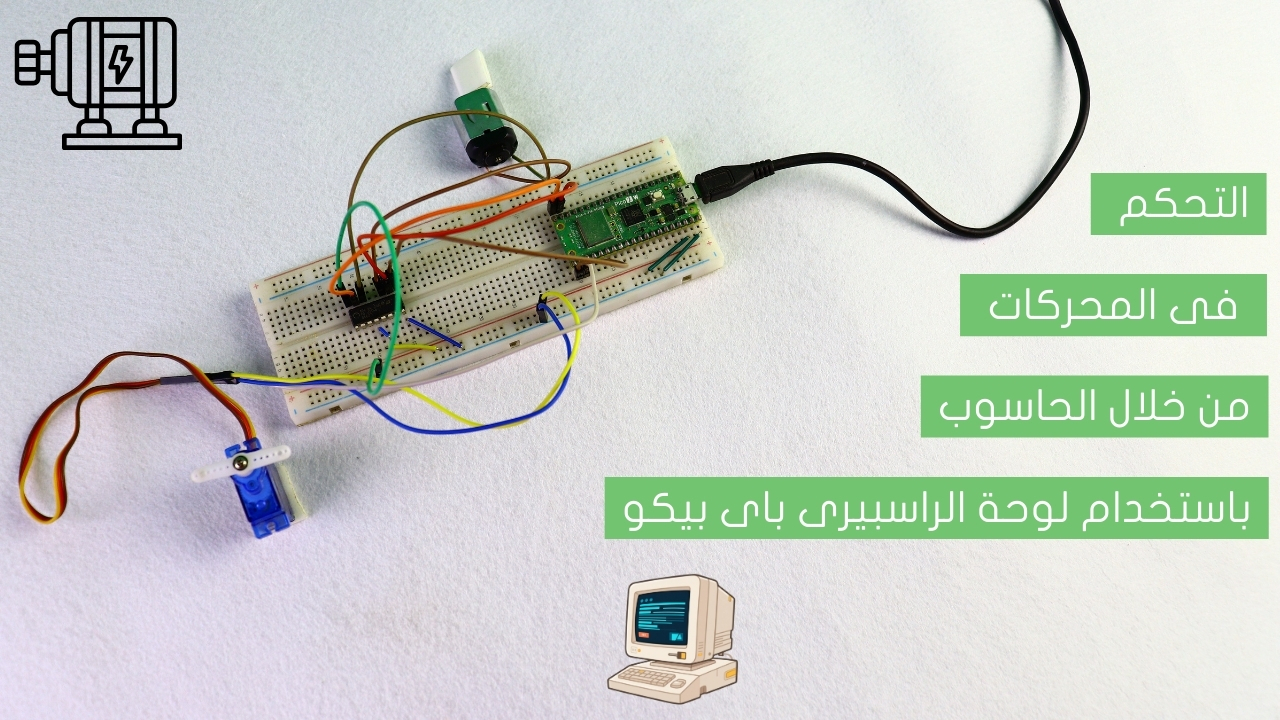
Connect the wires between the LED and the Raspberry pi 5 as shown in the image below.

Connections from the Raspberry pi 5 to the breadboard:
• Raspberry pi 5 GPIO GND pin → Breadboard ground line
• Raspberry pi 5 GPIO 5V pin → Breadboard 5V line
Connections from the LED :
• LED anode pin → 330 ohm resistor → Raspberry pi 5 GPIO pin 17
• LED cathode pin → Breadboard ground line
Now on your Raspberry Pi, click on the menu, then choose programming, then open the Thonny ide program.

Now copy that code into it, The function of this code is to turn the LED light on and off for 1 second.
Now run the code, you will find that the Raspberry Pi 5 board turns on and off the LED for 1 second.


.jpg)