Thank you! Your submission has been received!
Oops! Something went wrong while submitting the form.
Voltaat Arduino Ultimate Kit
40 min
Share

Send characters and numbers to your Arduino using a keypad

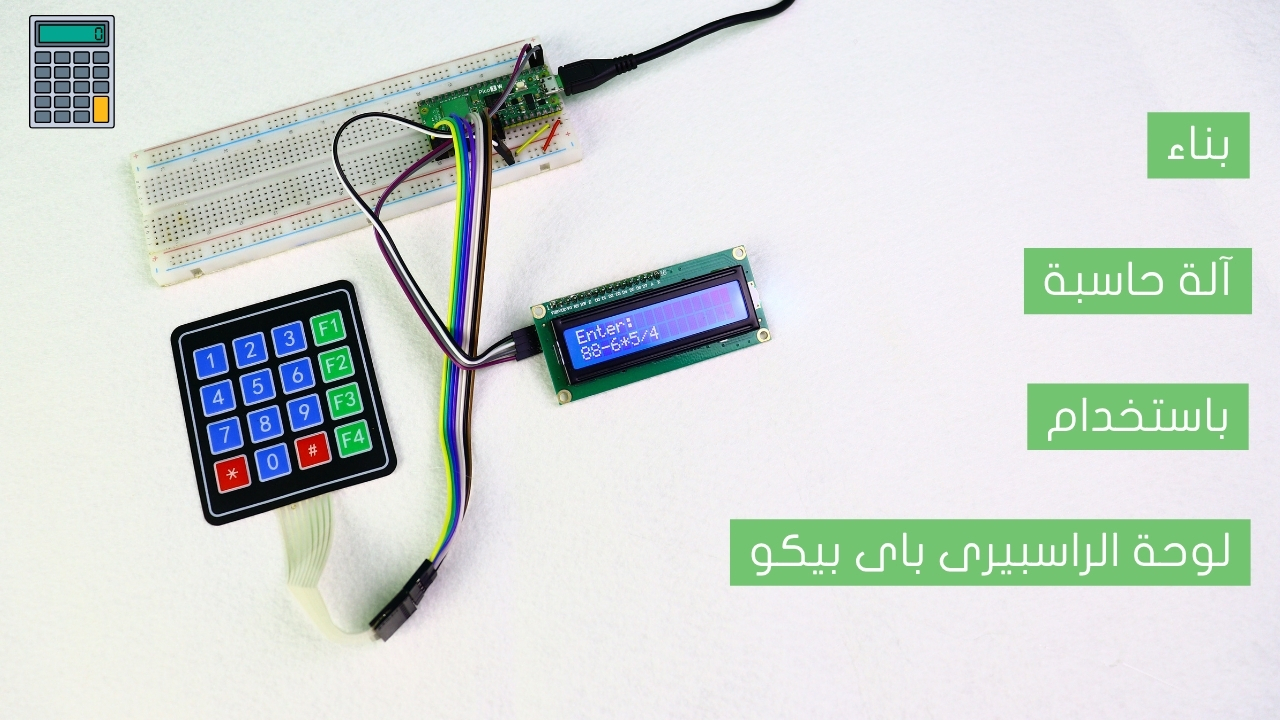
A keypad is a set of keys that are used to input data into a computer or electronic device. Most keypads consist of numeric, symbol, and navigation keys.

Project Video

Overview

In this tutorial, we will send data from the keypad to the Arduino and display them on your computer.

Getting the Items

Arduino Uno R3 (Voltaat Version)
Get Item
16 Key Keypad
Get Item
Jumper Wires - Male to Male (40 Pack)
Get Item

Steps

Wiring it Up

Take a close look at the keypad's pins; they are numbered from 1 to 8 (from right to left)

Connect the Arduino to your computer using the USB cable, as shown in the image below.


 Connections from the keypad to Arduino:


 Pins on the keypad are numbered from 1 to 8


      • Keypad pin 1 → Arduino pin 2
      • Keypad pin 2 → Arduino pin 3
      • Keypad pin 3 → Arduino pin 4
       • Keypad pin 4 → Arduino pin 5
       • Keypad pin 5 → Arduino pin 6
      • Keypad pin 6 → Arduino pin 7
      • Keypad pin 7 → Arduino pin 8
      • Keypad pin 8 → Arduino pin 9

Coding


/*
 Voltaat learn (https://www.voltaat.com)
 Link for full tutorial:
 Link for libraries:

 Send characters and numbers to your Arduino using a keypad

 The function of this sketch is to print data from the keypad to your computer through the serial monitor. You can develop this code to make more complex projects, such as a system with a secure password

 Connections from the keypad to Arduino:
 Pins on the keypad are numbered from 1 to 8
 • Keypad pin 1 → Arduino pin 2
 • Keypad pin 2 → Arduino pin 3
 • Keypad pin 3 → Arduino pin 4
 • Keypad pin 4 → Arduino pin 5
 • Keypad pin 5 → Arduino pin 6
 • Keypad pin 6 → Arduino pin 7
 • Keypad pin 7 → Arduino pin 8
 • Keypad pin 8 → Arduino pin 9

*/

// This library allows you to connect the keypad with arduino
#include "Keypad.h"
//Define variables (the four rows)
const int ROW_NUM = 4;
//Define variables (the four columns)
const int COLUMN_NUM = 4;

//Instantiates a Keypad object that uses pins 5, 4, 3, 2 as row pins, and 8, 7, 6 as column pins.
//This keypad has 4 rows and 3 columns, resulting in 12 keys.
char keys[ROW_NUM][COLUMN_NUM] = {
 {'1', '2', '3', 'A'},
 {'4', '5', '6', 'B'},
 {'7', '8', '9', 'C'},
 {'*', '0', '#', 'D'}
};

//Connect to the row pinouts of the keypad
byte pin_rows[ROW_NUM] = {9, 8, 7, 6};
//Connect to the column pinouts of the keypad
byte pin_column[COLUMN_NUM] = {5, 4, 3, 2};
Keypad keypad = Keypad( makeKeymap(keys), pin_rows, pin_column, ROW_NUM, COLUMN_NUM );

//Commands inside void setup run once
void setup() {
 // Start the serial monitor at 9600 baud rate (9600 bits per second)
 Serial.begin(9600);
}

//Commands inside void loop run forever
void loop() {

 //Returns the key that is pressed
 char key = keypad.getKey();

 //If key is pressed
 if (key) {
   Serial.print(key);
   Serial.println(" Is pressed on your keypad");
 }
}

Testing it Out

know when your plant needs watering

Now access the serial monitor on your Arduino IDE by clicking on the magnifying glass icon at the top right corner.

know when your plant needs watering

Now, as we can see in the following image, the serial monitor displays the input data from our keypad in single lines.

know when your plant needs watering

Resources

No items found.