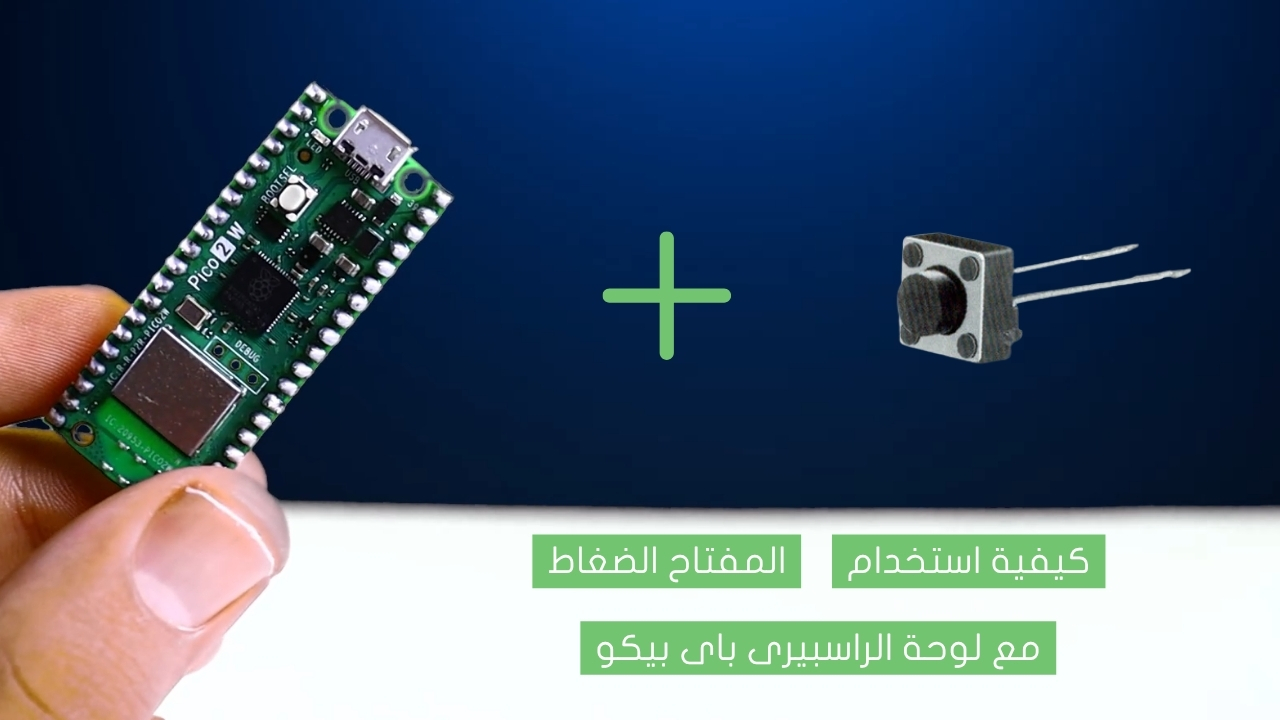
Learn how to program Raspberry Pi Pico with Arduino IDE

Raspberry Pi Pico is a small powerful microcontroller board, it supports programming in MicroPython, if you’re not interested in programming microcontrollers using MicroPython, don’t worry! You can now program Raspberry Pi Pico using the Arduino IDE.
Project Video
Overview

In this tutorial, we will learn how to program a Raspberry Pi Pico board using the Arduino IDE. We will upload a simple code example from the Arduino IDE to turn on and off an LED light on the Raspberry Pi Pico board for fixed periods of time.
Getting the Items
Steps
First, start the Arduino IDE software and click on the “File” tab at the top of the screen. Then, click on “Preferences” as shown in the image below :

And then a window will appear as shown in the image below the link. Go to the box at the bottom of the window next to the phrase “Additional boards manager URLs” and click on it. Then, copy the following link into that box:
The link:
https://github.com/earlephilhower/arduino-pico/releases/download/global/package_rp2040_index.json

And then press the OK button:

And then click on the “Tools” tab at the top of the screen. Then, click on “Board” and select “Boards Manager” from the menu that appears:

And then a search box will appear on the left side of the screen. Type the word “pico” in it as shown in the image below:

And then several options will appear. Choose “Raspberry Pi Pico/RP2040” from the list and click on the “INSTALL” button as shown in the image below:

And then wait for a few minutes, and you will see the message “Platform rp2040:rp2040@installed” at the bottom of the black screen, indicating that the board has been successfully added to the Arduino IDE software.

Finally, click on the “Tools” tab at the top of the screen. Then, click on “Board” and select “Raspberry Pi Pico/RP2040” from the menu that appears. From the submenu that appears, choose the specific board or version you want to program. In our case, we will select “Raspberry Pi Pico”.

You can now upload any code you want to the Raspberry Pi Pico. We will upload a simple code example from the pre-existing examples in the Arduino IDE to turn on and off an LED light on the Raspberry Pi Pico board for fixed periods of time. To access this example and upload it to the Raspberry Pi Pico, click on the “File” tab and from the menu, click on “Examples”. From the submenu that appears, choose “Basics”, and from the submenu that appears next, select “Blink” as shown in the image below:

Then upload the code on the board by pressing the arrow at the top left of the program shown in the image below, and you will find that there is a flashing light on the Raspberry Pi Pico board for fixed periods of time after uploading the code.

Alert:
Press the BOOTSEL button before connecting the USB cable to the Raspberry Pi Pico board so that it works properly.
Wiring it Up

Coding

Testing it Out


